
Avalanche is a distinguished blockchain community internet hosting an enormous ecosystem of dapps and different fascinating Web3 initiatives. Moreover, the community is a superb various to different EVM-compatible chains equivalent to Polygon, BNB Sensible Chain, and Ethereum. Are you curious about using Avalanche as a blockchain for dapp improvement? In that case, you’ve come to the suitable place. With Moralis, studying methods to construct an Avalanche dapp is simple. What’s extra, constructing an Avalanche dapp might be carried out in solely three steps! Learn on as we take you thru the whole course of!
Boilerplate Documentation – https://github.com/ethereum-boilerplate/ethereum-boilerplate
If you don’t want to observe alongside throughout this transient tutorial, you might have the choice to discover the code in additional element utilizing the hyperlink above. In any other case, be a part of us as we clarify the whole course of and present you methods to construct an Avalanche dapp in three steps. So, how is it attainable to construct an Avalanche dapp this simply? The reply to this query is Moralis’ Ethereum boilerplate, which helps EVM chains, together with Avalanche! Thus, we are going to use this template to create a easy utility the place customers can register with their Web3 wallets. As soon as they authenticate their Web3 identification, they’ll have entry to consumer data equivalent to their transaction historical past, pockets balances, and extra.
So, if you wish to construct an Avalanche dapp, observe alongside as we showcase the quickest approach to construct a Web3 app. Nevertheless, earlier than we get going, join with Moralis, as you’ll need an account throughout this tutorial. Becoming a member of Moralis is free, and you may arrange your account in seconds!
What’s an Avalanche Dapp?
To reply the query, “what’s an Avalanche dapp?” it is likely to be a good suggestion to interrupt down what each Avalanche and dapps are. Therefore, we are going to provoke this part to briefly discover the Avalanche community in additional element.

Avalanche was created in 2020 and is a programmable good contract platform. Avalanche got down to remedy among the congestion problems with the Ethereum community, driving up Ethereum gasoline charges to outrageous numbers. As such, Avalanche focuses on velocity and retaining transaction prices at a minimal. Moreover, Avalanche facilitates a platform for constructing quick, low-cost, Solidity-compatible functions. Furthermore, the community manufacturers itself because the quickest good contract platform by way of time-to-finality.
Now, with an understanding of the Avalanche community, we are able to simply reply the query, “what’s an Avalanche dapp?”. In brief, an Avalanche dapp is an utility constructed on the Avalanche community. That mentioned, it is likely to be extra fascinating to discover the intricacies of dapps and what they entail.
So, dapps (decentralized functions) basically fulfill the identical operate as conventional Web2 functions. The important thing distinction is that dapps come geared up with Web3 performance since builders construct these apps on P2P (peer-to-peer) networks equivalent to Avalanche or Ethereum. As such, dapps are basically conventional functions constructed on prime of blockchain networks.
With a considerably higher understanding of what Avalanche dapps are, we are able to transfer on to the central a part of this tutorial. As such, we are going to take the next sections to reveal methods to construct an Avalanche dapp in three steps!
How one can Construct an Avalanche Dapp in 3 Steps
With a greater understanding of the intricacies of Avalanche dapps, it’s now time to reveal how one can construct one. Since we might be utilizing the Ethereum boilerplate code from Moralis, it’s attainable to interrupt down the method into the next three steps:
- Cloning the GitHub Repository
- Configuring Variables
- Beginning the Avalanche Dapp
The Ethereum boilerplate contains a easy dapp through which customers can register with their MetaMask Web3 wallets. As soon as authenticated, customers will be capable of browse the appliance freely. For instance, customers will obtain entry to their transaction historical past that includes each ERC-20 tokens and NFTs. What’s extra, the dapp will moreover show customers’ balances. Nevertheless, you’ll study extra about how the dapp works within the following part, the place we take a better have a look at the intricacies of the Ethereum boilerplate.
Furthermore, if you happen to want watching video tutorials to coach your self, be happy to take a look at the next clip from Moralis’ YouTube channel:
The video above is a brief clip explaining methods to construct an Avalanche dapp. As such, it covers the steps of this tutorial in additional element. However, you can too observe alongside right here as this information contains a full breakdown of how one can construct an Avalanche dapp in solely three steps!
Ethereum Boilerplate – How Does it Work?
Earlier than we illustrate how one can construct an Avalanche dapp, we are going to discover Moralis’ Ethereum boilerplate to point out you what we’re working in the direction of. As seen within the following picture, that is the touchdown web page for the Avalanche utility you might be about to create:

You’ll be able to see that you’ve many choices as quickly as the appliance launches. For example, you’ll discover 4 tabs on the prime of the appliance:

These function choices equivalent to “Transactions”, “Transfers”, and “Balances”. Nevertheless, earlier than you authenticate your self, you’ll not discover a lot data if you happen to click on any of those choices. It’s essential to initially join your Web3 pockets utilizing the “Join Pockets” button on the prime proper:

Clicking on this button will immediate your MetaMask pockets and let you signal a message. Moreover, MetaMask is the default choice of this template, and you may simply implement further Web3 authentication strategies when working with Moralis. For instance, the Web3 Auth API permits you to simply add Coinbase Pockets login performance or add an indication in with RainbowKit.
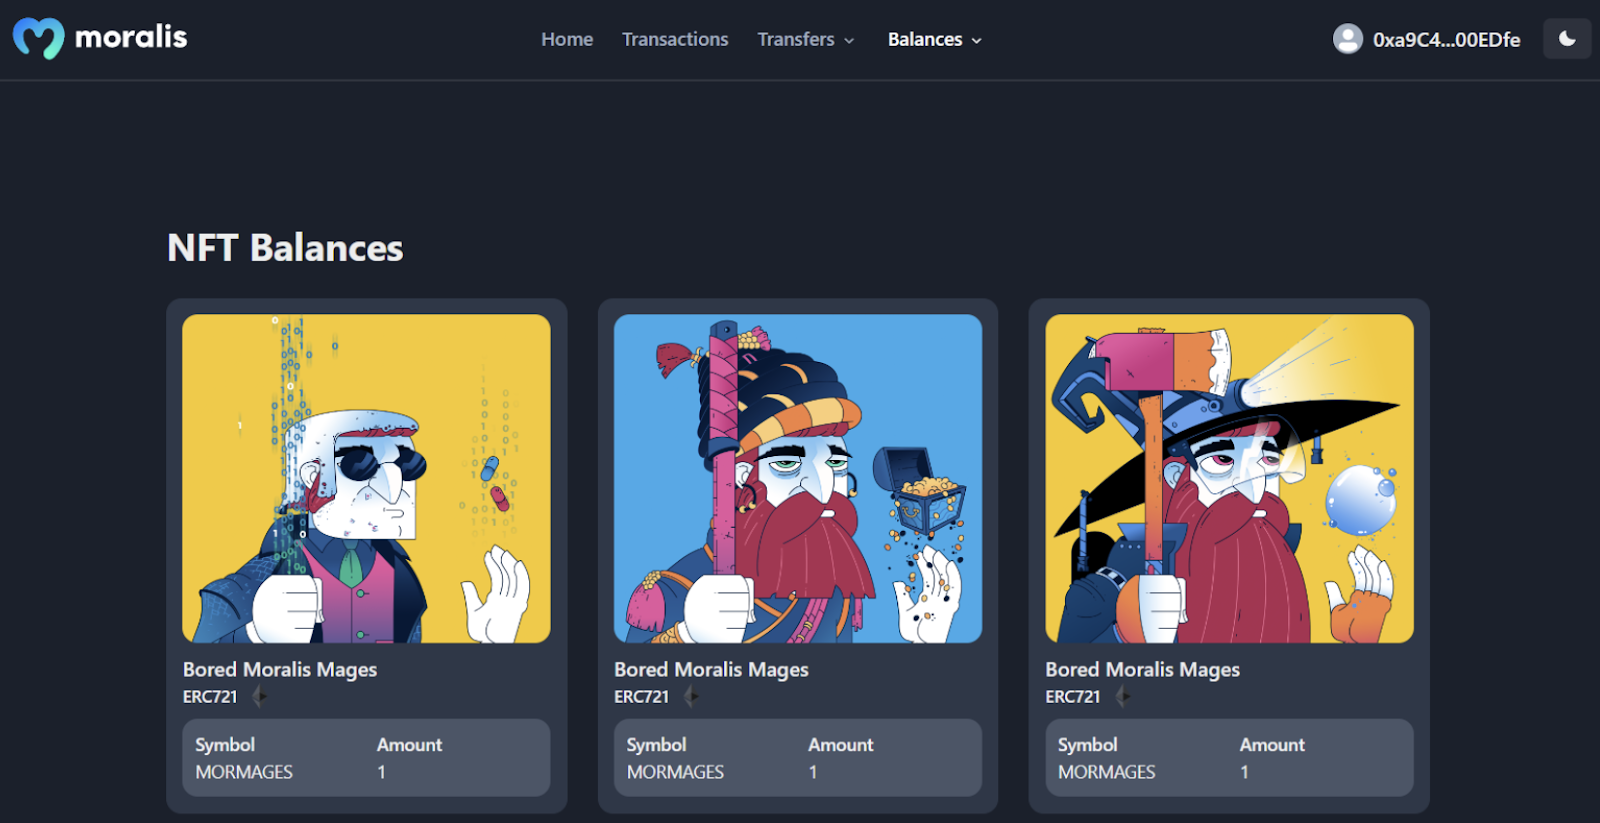
As soon as authenticated, now you can discover the tabs of the Avalanche dapp. For instance, the “Balances” tab will present you the steadiness of the pockets used to signal the message. As such, clicking on this button will let you select both NFTs or ERC-20 tokens:

As such, clicking on the “NFTs” choice, as an example, will show the entire NFTs the pockets include neatly:
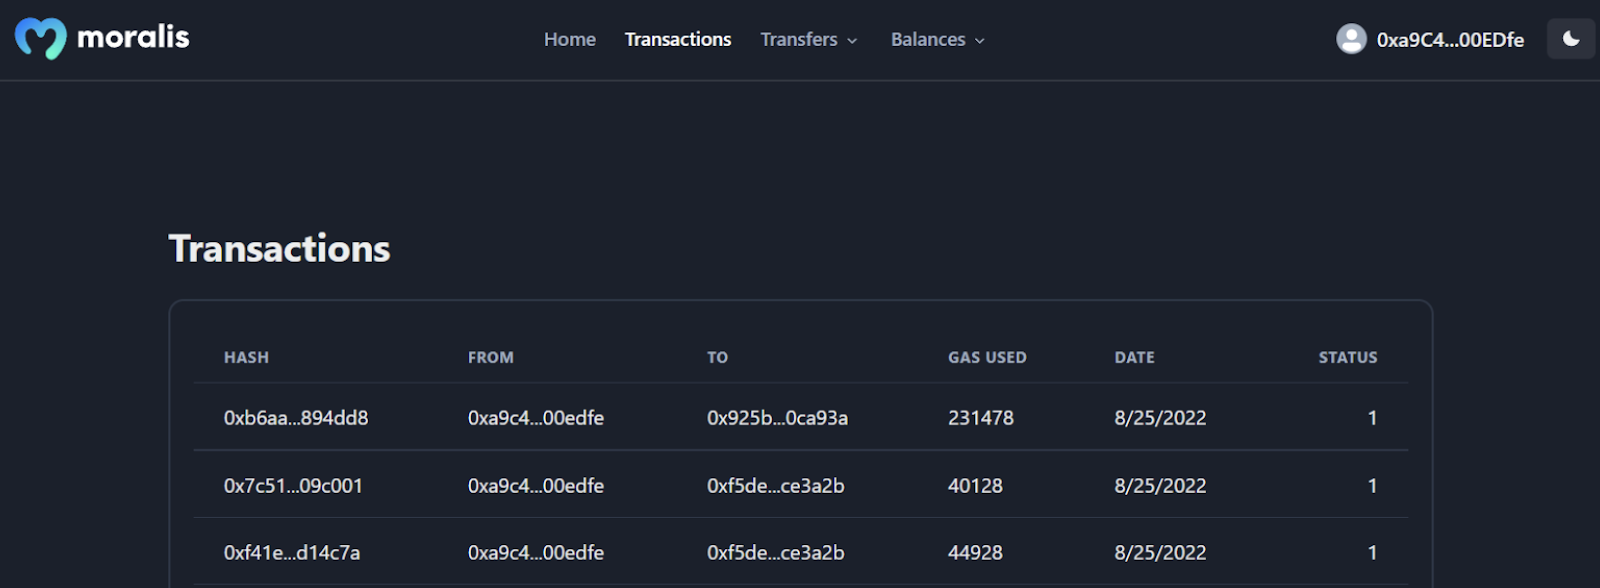
Furthermore, if you happen to had been to click on on the “Transactions” tab, it might show the pockets’s transaction historical past in a clear desk:
Now that’s it! You’ll be able to click on on the hyperlink within the introduction and scroll all the way down to the boilerplate documentation for a extra detailed breakdown of the app’s performance!
Construct an Avalanche Dapp – 3-Step Breakdown
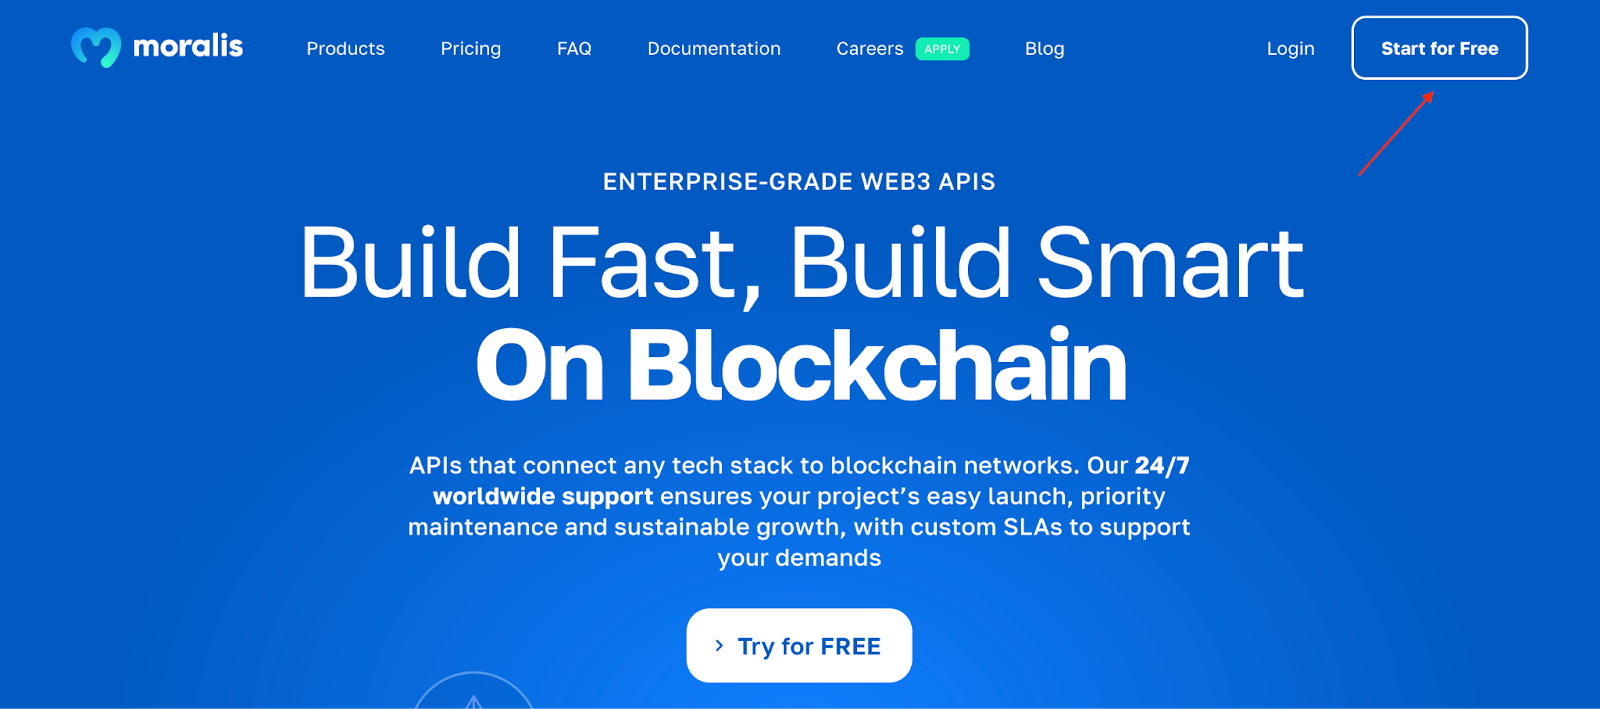
With a greater concept of what we’re working in the direction of, it’s time to illustrate methods to construct an Avalanche dapp in three steps. Nevertheless, earlier than doing so, it’s essential create a Moralis account. As such, when you’ve got not already, it’s essential go to the Moralis web site and click on on the “Begin for Free” button on the prime proper:
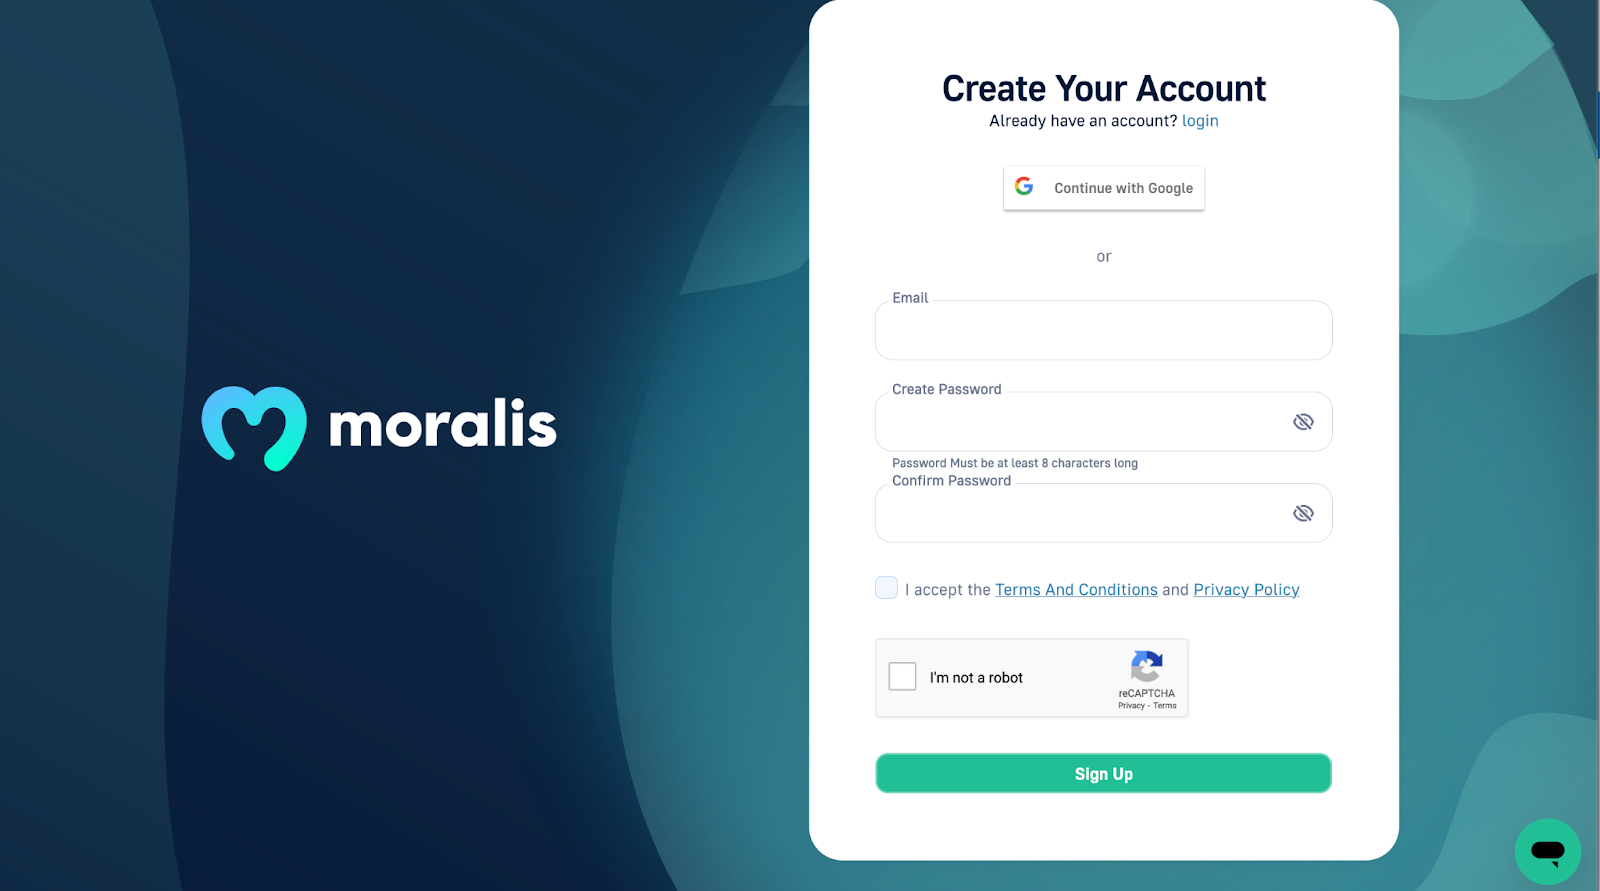
From there, it’s essential enter the required data, checkmark the “I settle for…” field, and click on on “Signal Up”:
With an account at your disposal, we are able to transfer on to step one of this tutorial and begin to construct an Avalanche dapp! So, observe alongside as we reveal how one can clone the Ethereum boilerplate to your native repository!
Step 1: Cloning the GitHub Repository
The primary a part of this preliminary step is to open your most well-liked IDE (built-in improvement setting). In our case, we might be utilizing VSC (Visible Studio Code). In case you resolve to make use of one other setting, among the components of this tutorial may differ barely. Nevertheless, fear not, as there won’t be any important variations to throw you off.
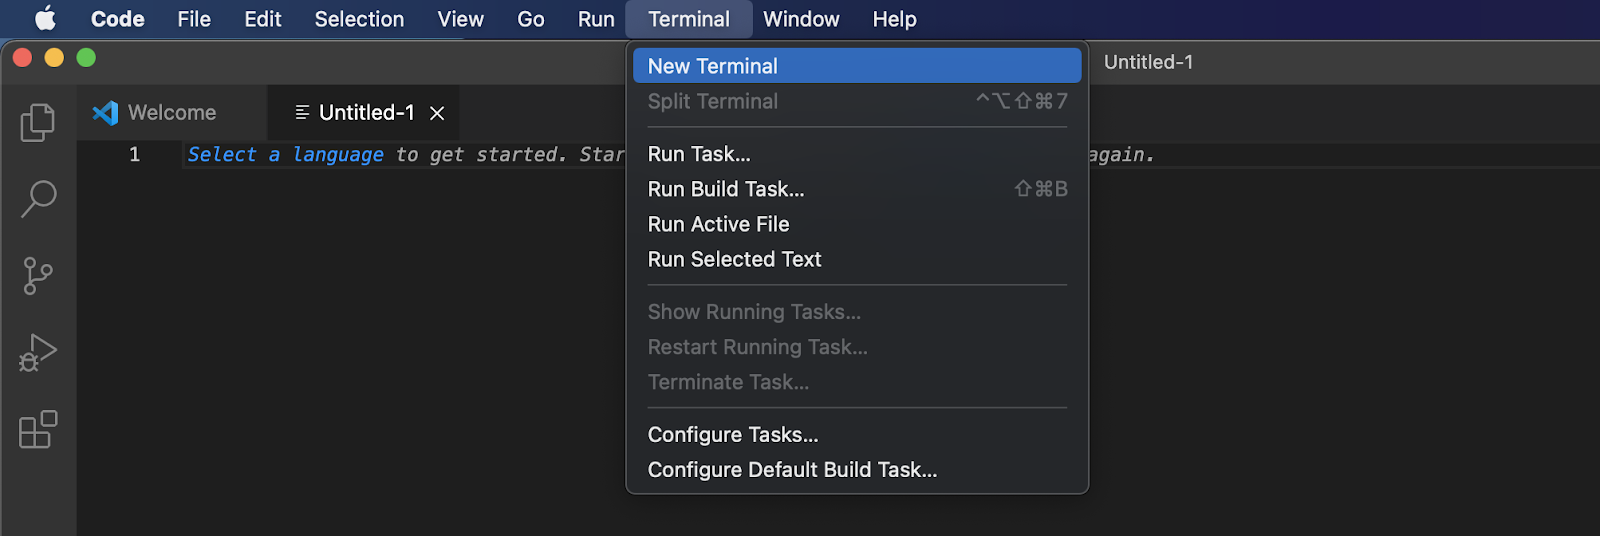
Together with your most well-liked IDE open, you may proceed by creating a brand new folder. We’ve determined to name our folder “BOILERPLATE”, however you may name it no matter you want. Subsequent up, it’s essential open a brand new terminal. If you’re working with VSC, you are able to do so by hitting the “Terminal” tab on the prime and clicking on “New Terminal”:
Subsequent up, it’s essential navigate to the GitHub repository to which we initially linked. When you click on on this hyperlink, you may proceed and press the “Code” button to the suitable and duplicate the URL:
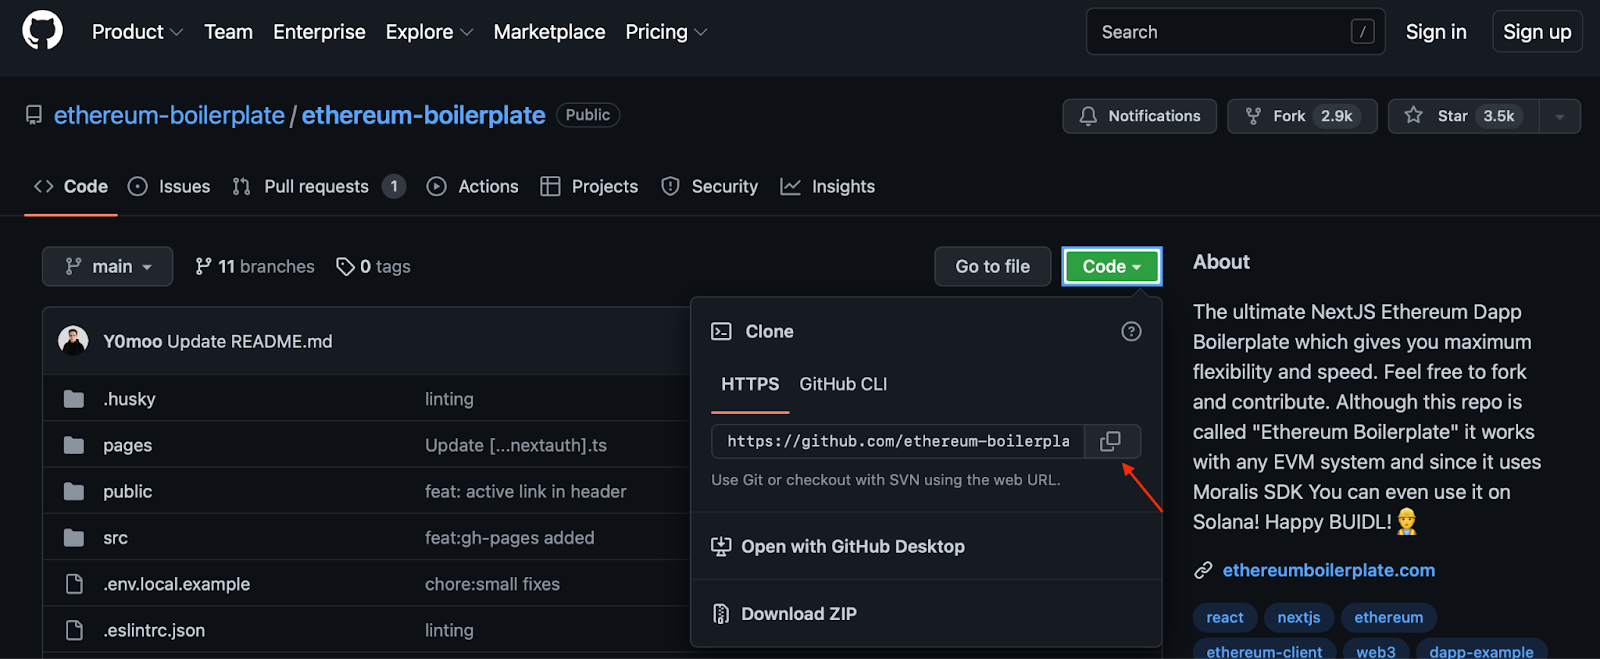
From there, navigate again to your IDE and enter the next command into the terminal utilizing the URL you simply fetched (earlier than operating the command, ensure you are within the appropriate folder, which needs to be the one you created simply now):
git clone “BOILERPLATE_URL”
Subsequent up, you may bounce into the Ethereum boilerplate folder utilizing the next command:
cd ethereum-boilerplate
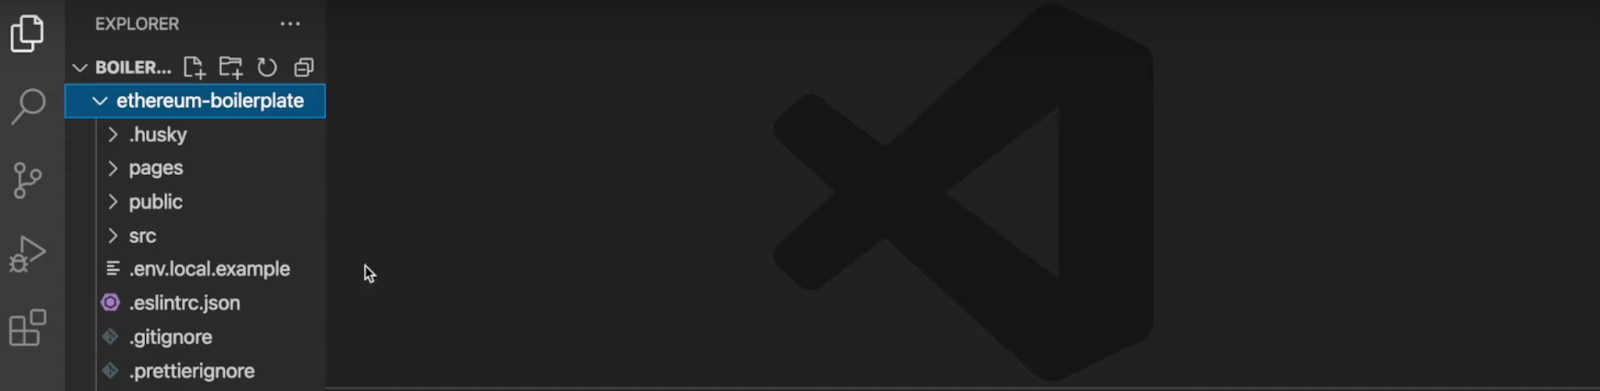
As such, if you happen to observe the directions above, it ought to offer you the next construction in your native listing:
Step 2: Configuring Variables
Within the second step, we have to make a number of configurations for 5 setting variables. As such, you may go forward and navigate to the ”.env.native.instance” file:
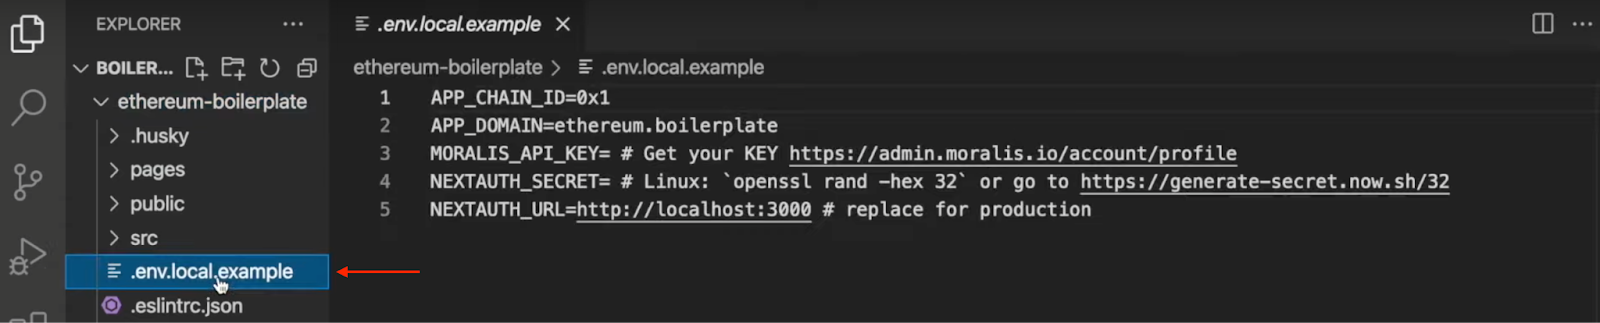
We’ll take you thru the required configurations for all setting variables. So, let’s begin with “APP_CHAIN_ID“. Initially, the chain ID corresponds to the Ethereum community, and because you need to construct an Avalanche dapp, it’s essential configure this worth. Therefore, you may go forward and alter the worth from “0x1” to “0xA869“, which is the ID for the Avalanche testnet.
Subsequent, you might have the “APP_DOMAIN” variable, which you’ll be able to go away as is. Following this, you could add your API key to “MORALIS_API_KEY“. To get the API key, you want a Moralis account. As such, if you don’t have already got one, be certain to enroll with Moralis proper now.
After you have an account, you could navigate to the Moralis admin panel by logging in. From there, click on on “Account”, the “Keys” tab, after which copy “Web3 API Key”:

With the worth at hand, you may be sure that ”MORALIS_API_KEY” equals the API key.
Following this, it’s essential generate a secret worth for the ”NEXTAUTH_SECRET” variable. In case you need assistance doing so, use the next hyperlink: https://generate-secret.now.sh/32.
Lastly, the final variable it’s essential contemplate is “NEXTAUTH_URL“, which is presently set to “http://localhost:3000“. Furthermore, you may go away this as is because you stay within the improvement levels. By doing so, you should have the power to make use of a neighborhood host to check the dapp in a safe setting. Nevertheless, whenever you plan on launching the dapp, it’s essential change this worth to the URL of your dapp.
With the configurations carried out, you could change the file’s title to ”.env.native”.
Closing Configurations
That is what the ultimate code for the ”.env.native” file ought to appear like:
APP_CHAIN_ID=0xA869
APP_DOMAIN=ethereum.boilerplate
MORALIS_API_KEY= "YOUR_API_KEY"
NEXTAUTH_SECRET= b8e786967d7bcbc0f920d35bcc3f891c
NEXTAUTH_URL=http://localhost:3000
Step 3: Beginning the Avalanche Dapp
Now that you’ve finalized the configurations to the “.env.native” file, all that is still is to start out the appliance. Nevertheless, to take action, you could first set up the required dependencies. Furthermore, relying on if you’re utilizing “npm” or “yarn”, you need to use both command and enter them into the terminal:
npm i
yarn
As soon as the dependencies are put in, you may go forward and run a neighborhood improvement server with both of those:
npm run dev
yarn run dev
This could get your utility operating on localhost 3000. As such, you may launch the appliance utilizing the next URL: http://localhost:3000.
Now that’s it for this tutorial on methods to construct an Avalanche dapp in three steps! All that is still from right here is so that you can make sure the dapp suits your focused phase’s wants. As such, you may add any further options or take away those you deem pointless.
In case you had bother throughout the tutorial, please try the GitHub repository from the introduction. Moreover, you can too study extra about Avalanche programming by trying out the official Moralis EVM API documentation!
Construct an Avalanche Dapp in 3 Steps – Abstract
Throughout this tutorial, we briefly showcased methods to construct an Avalanche dapp in minutes. Due to the accessibility of the Moralis platform, you had been in a position to construct your Avalanche dapp by way of the next three steps:
- Cloning the GitHub Repository
- Configuring Variables
- Beginning the Avalanche Dapp
Many of the accessibility originates from Moralis’ Ethereum boilerplate and the wonderful enterprise-grade APIs the platform options. So, if you happen to discovered this text fascinating, you may, for instance, try our information on methods to construct a Polygon dapp on Moralis’ Web3 weblog!

Along with offering nice content material concerning dapp improvement, Moralis additionally options different fascinating guides. For instance, you may learn up on several types of DAOs or methods to arrange a self-hosted Parse Server. So, if Web3 improvement pursuits you, be certain to discover the weblog additional!
However, if you’re seeking to construct an Avalanche dapp or dapps for any EVM chain, join with Moralis. You’ll be able to create your account instantly and start your Web3 improvement journey in seconds. What’s extra, organising Moralis is solely free, so you don’t have anything to lose!


